
Fluorescence microscopy has emerged as a pivotal tool for researchers seeking to understand biological processes at the cellular level, offering high-resolution, visually striking images that highlight specific features within specimens. By leveraging the near-instantaneous emission of light following excitation a hallmark of fluorescence distinct from the longer-lasting glow of phosphorescence scientists can capture dynamic processes in both fixed and live-cell imaging. While the technique is widely used in cell biology, the complexities of designing effective fluorescence microscopy experiments are often underestimated. Critical considerations include hardware availability, the compatibility of biological models with fluorescence imaging, and the selection of suitable imaging agents to achieve the desired outcomes. Traditionally, fluorescence microscopy relied on expensive, high-maintenance mercury arc lamps or lasers as excitation sources. However, recent advancements in LED technology have revolutionized the field, offering affordable, durable, and low-maintenance alternatives that emit a broad range of wavelengths suitable for diverse applications. This shift towards LED-based systems has made fluorescence microscopy more accessible, enabling researchers to design experiments that yield both informative and aesthetically compelling results.
A fluorescence microscope builds upon the principles of a conventional light microscope but incorporates advanced features to enhance imaging capabilities. While traditional microscopes use visible light (400–700 nanometers) to illuminate and magnify samples, fluorescence microscopes employ high-intensity light sources, such as mercury or xenon lamps, to excite fluorescent molecules known as fluorophores within the specimen. These fluorophores, which can be either naturally occurring or synthetic, absorb light at specific wavelengths and emit light at longer wavelengths, producing vivid, color-enhanced images of targeted structures. This process allows researchers to visualize specific features of small specimens, like microbes, and to highlight detailed 3D characteristics at microscopic scales. Techniques such as attaching fluorescent tags to antibodies or using general staining methods help focus on particular organelles or surface features. Critical components like excitation and emission filters, along with a dichroic mirror, filter out background fluorescence, ensuring clarity and precision in the images. Confocal fluorescence microscopy further enhances this by using lasers to focus light at precise points, scanning through multiple layers of a specimen. Specialized software then reconstructs these scans into high-resolution, three-dimensional images, offering unparalleled insights into the structural intricacies of biological samples.

1. Remove the Protective Cover:
Carefully take off the dust cover from the fluorescence microscope to prevent contamination. Ensure the microscope and workspace are clean and free of dust particles that could interfere with imaging quality.
2. Check and Adjust Power Settings:
Before plugging in the microscope, ensure that all power settings are on low. This helps protect the sensitive components and prevents sudden surges when turning the device on.
3. Turn On the Light Source:
Activate the mercury or xenon lamp by switching it on. Allow the lamp to warm up for at least 15 minutes to reach full brightness and ensure uniform illumination across your sample.
Warning: Mercury lamps emit intense UV radiation that is harmful to the eyes and skin. Never look directly at the lamp or attempt to open the lamp housing. Always handle the lamp with caution and wear protective eyewear if necessary.
4. Activate the Motorized Focus Box:
Switch on the motorized focus control box, which will help you adjust the focus smoothly and precisely during imaging.
1. Place the Slide on the Stage:
Gently place your prepared microscope slide onto the stage and secure it with the stage clips to prevent movement during imaging. Make sure the sample is properly labeled and oriented for easier identification.
2. Focus the Sample:
Look through the eyepiece and use the coarse adjustment knob to bring the sample into rough focus by raising or lowering the stage. Once you have a general view, switch to the fine adjustment knob for precise focusing, resulting in a sharp and clear image.
Filter Safety: Never look directly into the eyepieces when changing filters. Certain filters can reflect harmful UV rays directly into your eyes, which can cause serious damage.
3. Adjust Objectives and Filters:
When switching to a higher or lower magnification objective, grip the nosepiece collar firmly without applying pressure to the objective lenses to avoid misalignment. If changing filters, ensure the microscope is set to low power to prevent overexposure. For Köhler illumination adjustments, avoid manipulating the stage knobs to maintain focus.
1. Attach a Camera:
If you need to document your observations, connect a camera to the microscope’s eyepiece or camera port. Ensure the camera is securely mounted to avoid vibrations that could blur the image.
2. Save Your Images:
Capture images using the camera's software, storing them either on the camera’s internal memory or a connected external storage device, such as a computer or USB drive. Adjust exposure settings for optimal brightness and contrast.
1. Observe Minimum Usage Time:
If the microscope has been in use for at least 30 minutes, it is safe to power it down. This prevents thermal shock and ensures that the mercury or xenon lamp cools properly.
Lamp Safety Precautions:
Track lamp usage hours carefully. Mercury lamps have a limited lifespan, and exceeding it increases the risk of lamp explosion.
Avoid frequent switching of the lamp on and off, as it can significantly reduce the lifespan. If the microscope will be used again within the next two hours, it's best to leave the lamp on.
Allow for cooling time before reactivating the microscope wait at least 30 minutes after shutdown.
2. Turn Off Components:
Remove the slide from the stage and clean any residue or immersion oil. Then, switch off the motorized focus box and the mercury or xenon lamp. Unplug the microscope from the power source.
1. Protect the Microscope:
After turning off and unplugging the microscope, return it to its designated storage area. Cover the microscope with its protective dust cover to shield it from dust, debris, and potential contaminants.
2. Maintain a Clean Workspace:
Wipe down the stage and lenses with lens-safe cleaning materials to prevent residue buildup. Store slides and accessories properly to keep your lab organized and ready for future use.
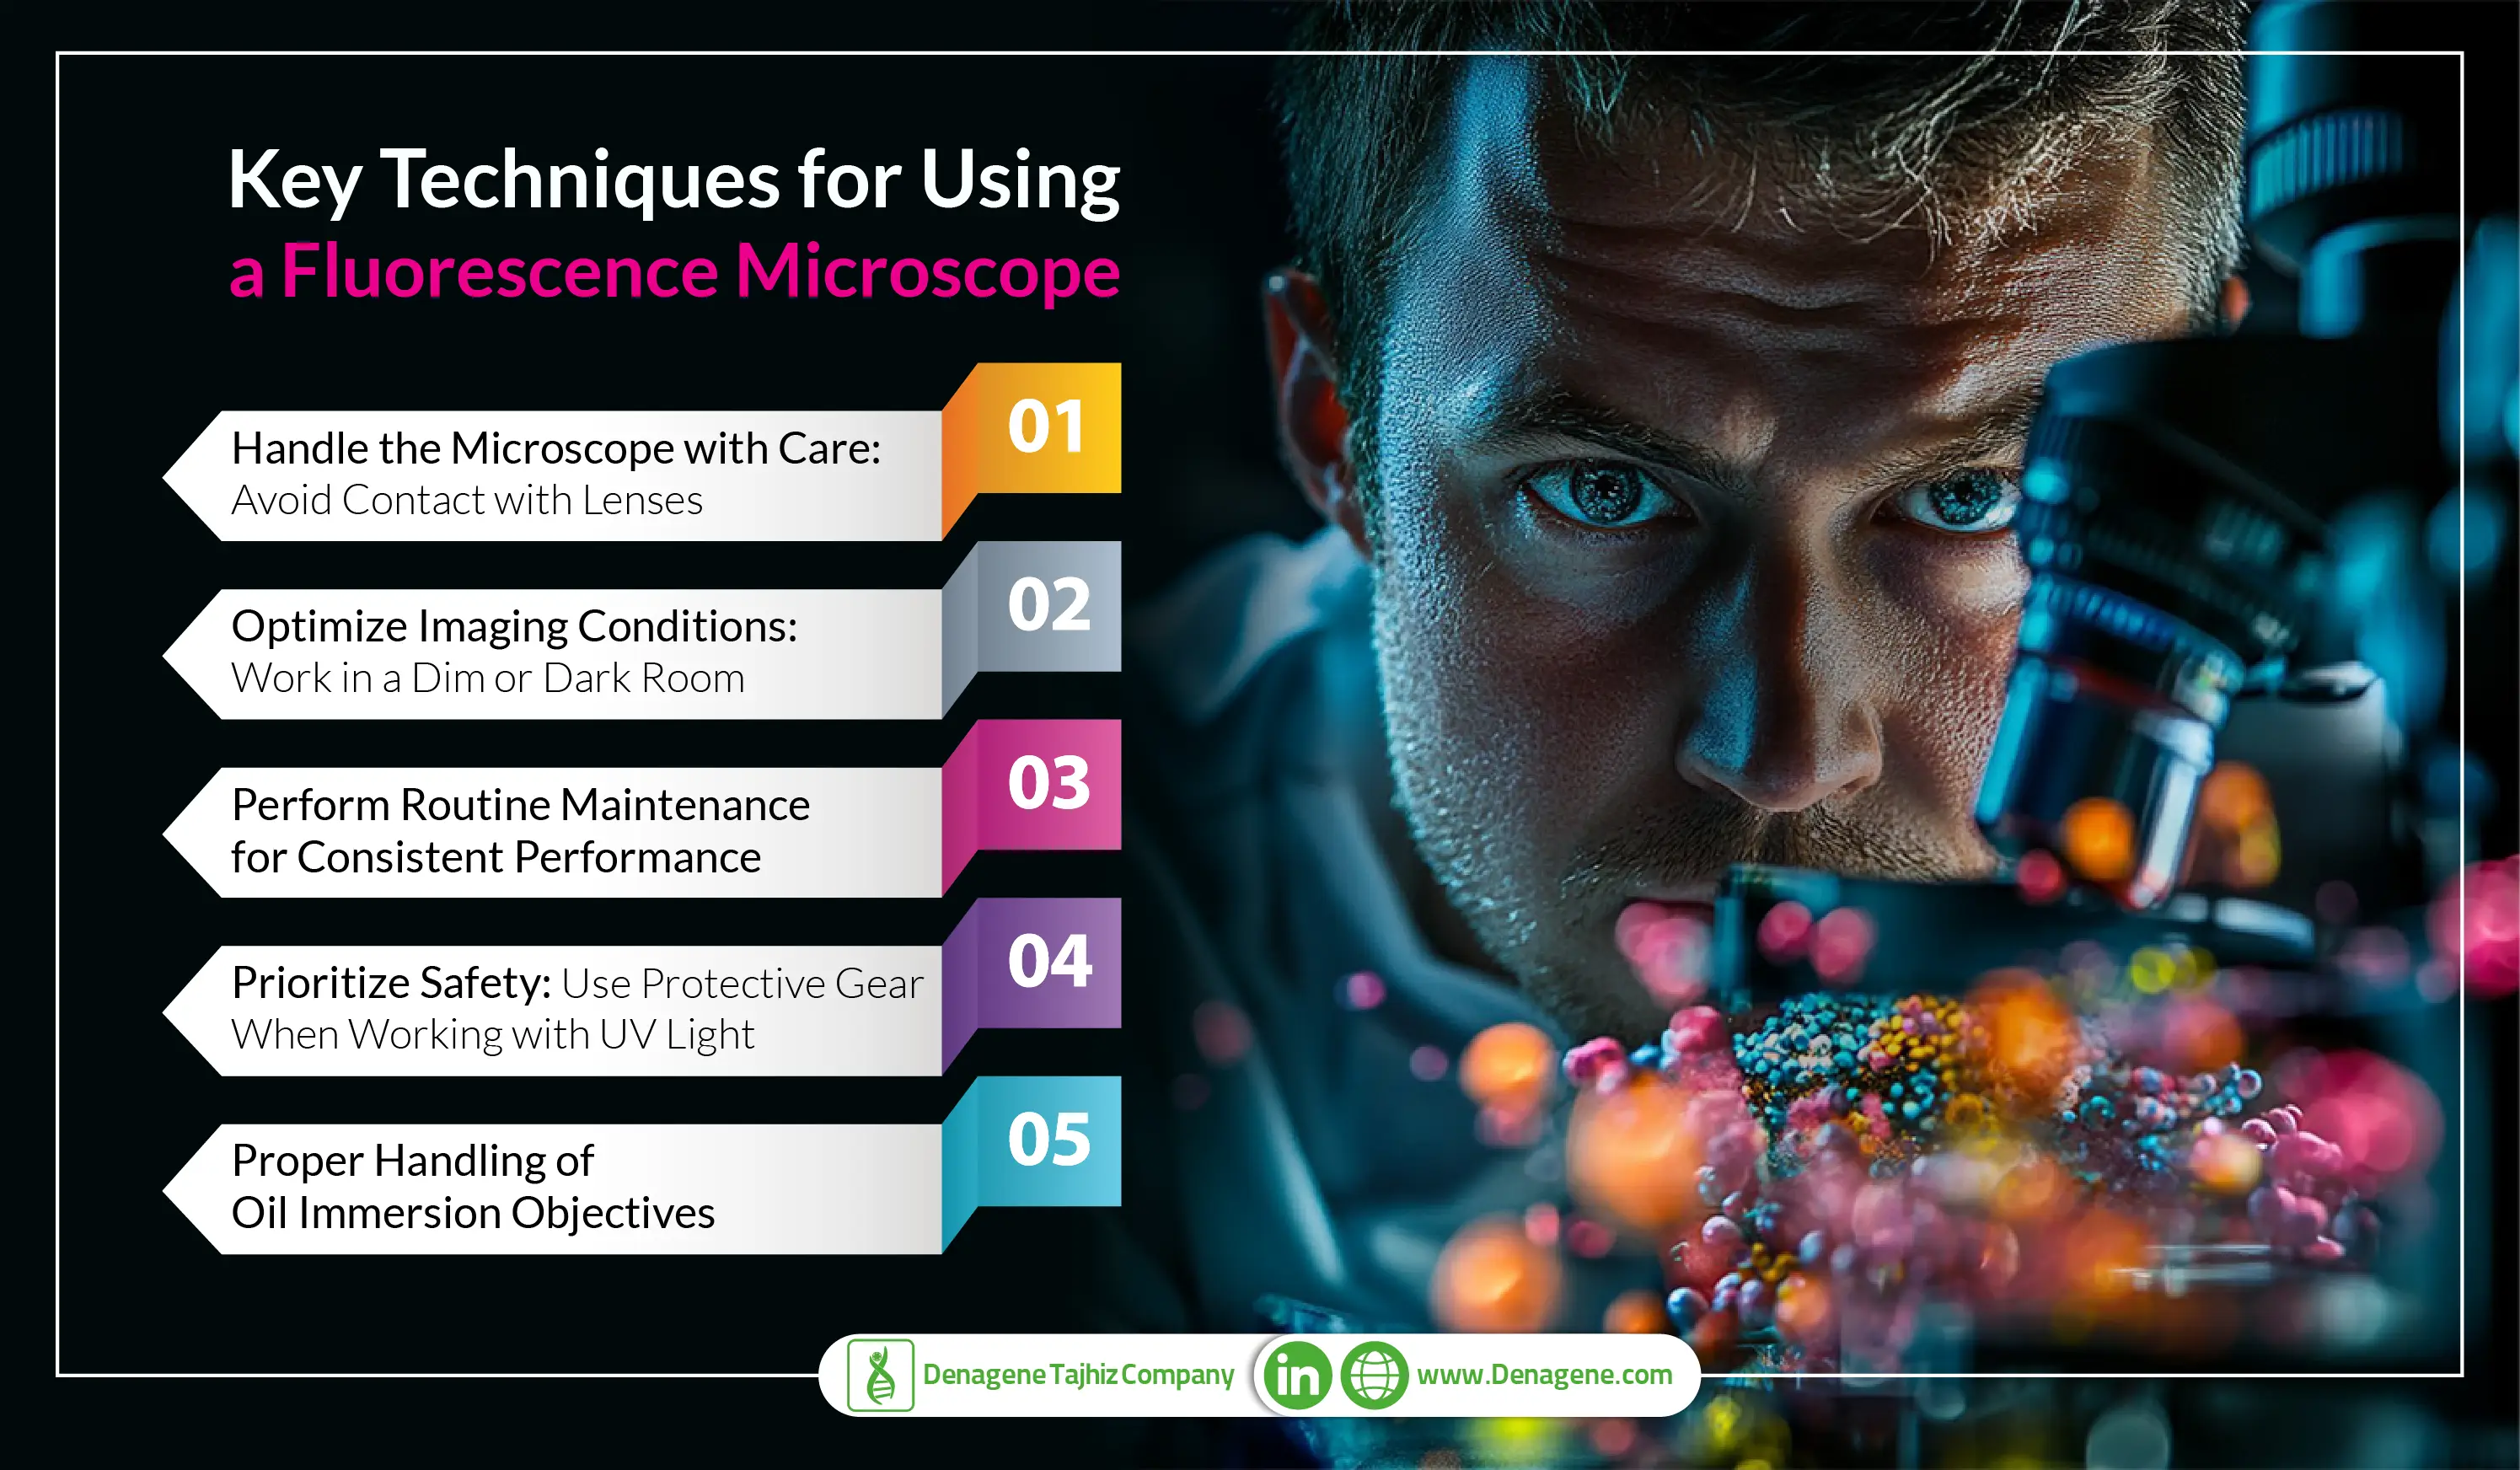
When using a fluorescence microscope, it’s essential to handle all components with precision and care. Never touch the objective lenses or other optical elements with your fingers, as oils and debris from your skin can leave smudges or scratches that degrade image quality. Instead, if adjustments are necessary, grip the nosepiece collar or designated adjustment areas. For cleaning, use only lens-safe materials like lens paper or microfiber cloths designed specifically for optical equipment.
Fluorescence microscopy relies on detecting faint fluorescent signals, which can be easily overwhelmed by ambient light. To enhance image contrast and clarity, conduct your microscopy work in a darkened room or under minimal ambient lighting. This practice helps reduce background noise and improves the visibility of the fluorescent markers, leading to clearer and more accurate images.
Regular upkeep of your microscope is critical for maintaining its performance. Clean the lenses and filters frequently using appropriate materials to prevent dust buildup, which can interfere with light transmission and image clarity. Additionally, routinely check the light source. whether it's a mercury lamp, xenon lamp, or LED for signs of dimming or irregularities in brightness. Replace lamps according to the manufacturer’s guidelines to ensure optimal illumination.
Fluorescence microscopes often use ultraviolet (UV) light to excite fluorophores, which can pose serious risks to your eyes and skin. Always wear UV-protective safety glasses to shield your eyes from harmful radiation. If the microscope setup involves intense UV exposure, consider using protective face shields or additional barriers to minimize the risk of accidental exposure.
When using oil immersion objectives, please be sure to exercise caution, especially when switching between high-power and low-power lenses. If the nosepiece is rotated carelessly, immersion oil can unintentionally transfer to non-oil objectives, contaminating the lenses and affecting image clarity. After completing your observations:
Clean the oil immersion lens by gently dabbing off the oil with lens paper or a soft, lint-free cloth. Avoid harsh rubbing, which can scratch delicate lens surfaces.
Ensure that all residual oil is removed from both the objective lens and the slide to prevent future contamination.
When switching back to lower magnification lenses, double-check that no oil remains on the stage or lenses to avoid compromising future imaging sessions.
Conclusion
Fluorescence microscopy has become an indispensable tool in modern scientific research, offering unparalleled precision in visualizing cellular structures and molecular interactions. By using high-intensity light sources to excite fluorescent molecules within a sample, this technique enables researchers to observe specific components of cells with exceptional clarity and contrast. From basic imaging of cellular organelles to advanced applications like Confocal Laser Scanning Microscopy (CLSM) and Total Internal Reflection Fluorescence (TIRF), fluorescence microscopes have significantly expanded our ability to study complex biological processes in real time. Understanding how a fluorescence microscope works, from setup to image capture, is essential for producing high-quality, informative images that drive discoveries in fields like cell biology, genetics, and medical diagnostics. As technological advancements continue to refine this powerful imaging tool, fluorescence microscopy will remain at the forefront of scientific innovation, providing deeper insights into the fundamental mechanisms of life.